Shading a petzpic
![]()
There are several tutorials out
there on how to add smudging to petzpics - this is how I do it :D
Program used: Paintshop pro (I use version 7)
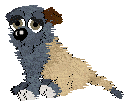
Step 1 - Pick a pic!
First, make sure that the pic you wanna use supports 16 million colours.
Click on Color > Increase Color depth > 16 million colors. If your pic is
from Petz 5, you will not have to do this step.
Step 2 - Preparations
Ok, we want to colour the doggie here, not the background! How to fix that?
Easy! Choose the Magic Wand in the meny to the left, and click on the white
background, which will now be seletced. If you have a selection, you can only
change things IN the selection, not outside it. We want to select the pup. Easy!
Click on Selections > Invert. Not too hard, was it?
Ok, now we need to set the tools that we are going to use. Our main helpers are going to be the Lighten RGB and the Darken RGB. You can find them under the Retouch button, the one that looks like a hand. These are the options I use:

What's the deal with density 55, you ask? Ah, there is an explanation to that! As you know, petz are made from lots and lots of pixels, little little dots of colours. So? Well, when using Lighten or Darken, you get a very very smooth line, which, in my opinion, does not blend very well with petz. By lessening the density, the colours will blend together better, and look more "petzy" :)
Step 3 - Out or in?
The most common shading on petz that I've seen looks something like this:

It's VERY pretty and adds a cool
effect, BUT, this is not very realistic, I'm afraid... I prefer something like
this instead:
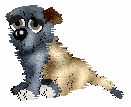
Animals are not flat 2D-objects, they have muscles and skeleton parts that give them a real 3D body, and I like to keep this in petz! If you need help on canine anatomy, I have a few tutorials. Try reading the Realistic dog step-by-step or maybe the wolf tutorial :) This tutorial is more on the shading technique itself!
Step 4 - Let's go then!
Ok, got the tools set? I like to start with a basic lighten and darken
layer, which I then work on. I can't tell you exactly where to put the
shading/highlighting, it depends on what pic you use and what effect you want.
For short, start by deciding from where the light comes, then add the shading :)
Below are a few examples that might help to give you a few ideas! Try varying
opacity, density, size... See what results you can get :D
Notice how different young Air looks on each finished pic, depending on the shading he's been given!
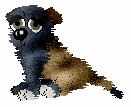 1. Weak light from side: Lots of shading on one side |
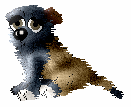 2. Highlights added |
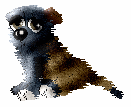 3. Last details |
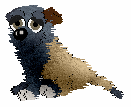 1. Strong light from above: Underside shading |
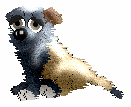 2. Light added (don't forget the shoulder/hips!) |
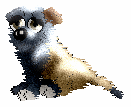 3. Last details |
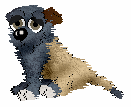 1. "Normal": Basic shading |
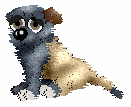 2. Basic lights |
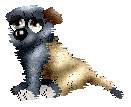 3. Last details |
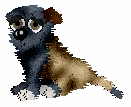 1. "Overworked": Basic shading |
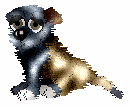 2. Lights added |
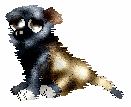 3. Last details |
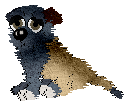 1. Strong light from under: Basic shading Compare this one to the 2nd one, "Strong light from above" =) |
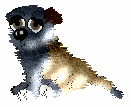 2. Basic lights |
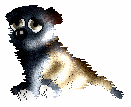 3. Last details |
![]()